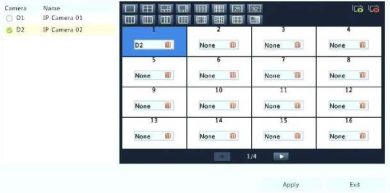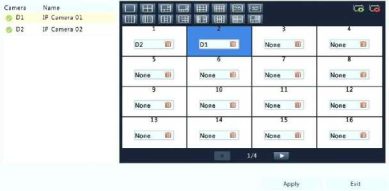
Step 2: Click window 2 on the right, and then click D1 under Camera on the left. Now D1 appears in window 2. Click Apply to save the settings.

Advanced Configuration
Click the Advanced tab and then select Sub Stream First so the DVR uses the sub stream to establish live video from multiple cameras simultaneously. This function is disabled by default.
This chapter describes how to connect analog cameras and add or manage
IP devices in your DVR. The IP devices mentioned in this manual mainly refer to IP camera (or network camera). Before you start, make sure the IP devices are connected to your DVR via network.
An IP device should be connected to one DVR only. An IP device managed by multiple DVRs may cause unexpected issues.
To connect an analog camera to the DVR, the camera must be connected to one of the BNC ports on the back of the DVR using a coaxial cable. The camera needs to be connected to a power supply or a power supply box too. Once the camera is connected to power and to one of the BNC ports, the camera’s video should appear in the Live View screen.
Adding an IP Device
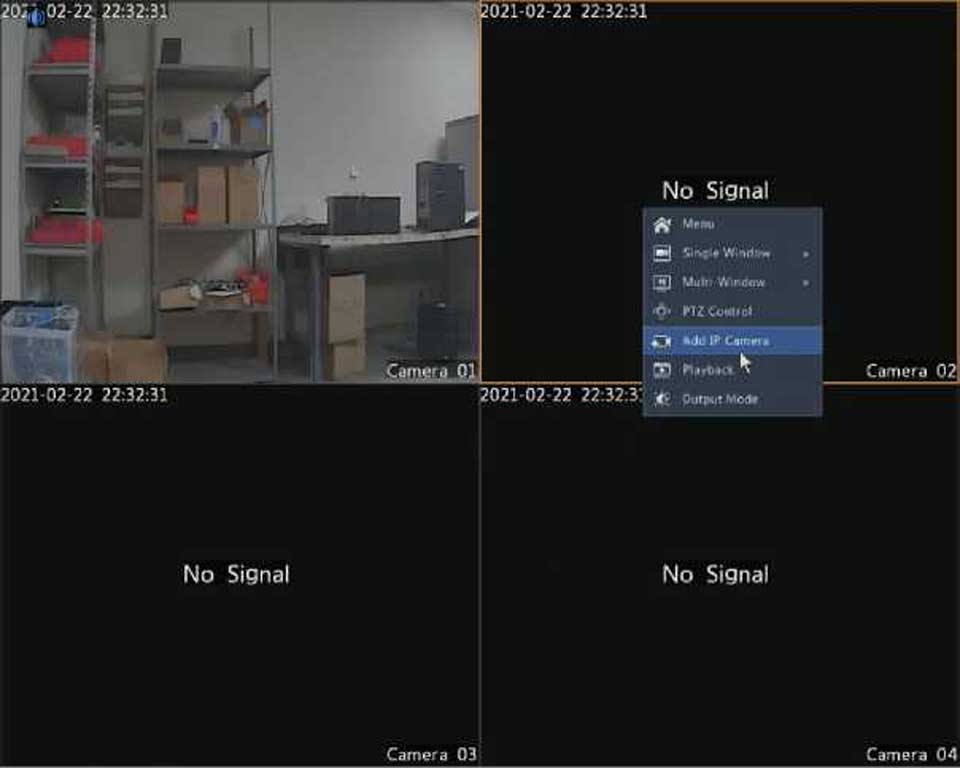
This recorder is a hybrid DVR, which means that IP cameras can be added to the device via network. Check the recorder’s specifications to determine how many IP channels the DVR can have. By default, the IP channels will be shown in Live View after the analog channels.
However, this can be changed. If desired, the channel type can be changed. Click Camera > Camera > Camera Type. Each channel can handle one type of camera at the time. Check the Analog checkbox, if the channel will manage an analog camera and check the Digital checkbox, if the channel will manage an IP camera or IPC.
