The default user is admin and the password is admin.
If you do not have access, we will have to generate a temporary key, to recover the forgotten password.
For this we need the MAC address of the device to be sent to us.
In cameras you need to use DeviceConfigTool (in the product pages’ download section you will find the latest version) to visualize the MAC address that the tool needs:

DeviceConfigTool:
So you can see the MAC address on the recorder:

This process is done the same way for all these models
– NV-KIT41-4CAM-5M
– NV-KIT41-4CAM-8M
– NV-KIT81-4CAM-8M
– NV-KIT61-4C2M-BAT
– NV-IPDM940HA-5
– NV-IPCV020H-5
– NV-IPCV020H-8
Add a Nivian-compatible IP camera in the Tuya application
Note:
This article is made on an iPhone with iOS 15.2 app version: 3.33.1, it might be different on your phone. The camera is the NVS-IPC-IS2 model
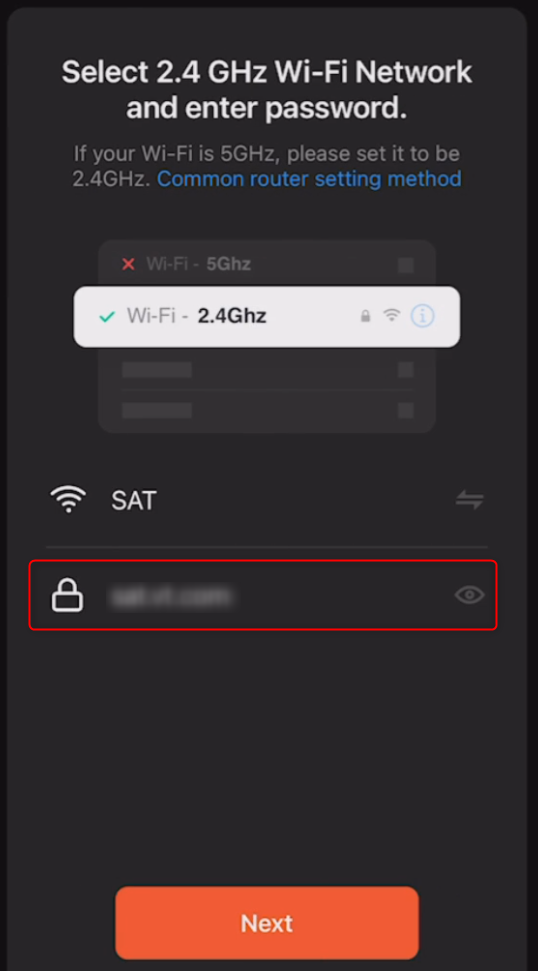
Make sure you have a 2.4 GHz WiFi network and that the mobile device is also on the same 2.4 GHz WiFi network.
Add a new camera on your mobile device using the Tuya application.
1. Open the Tuya application
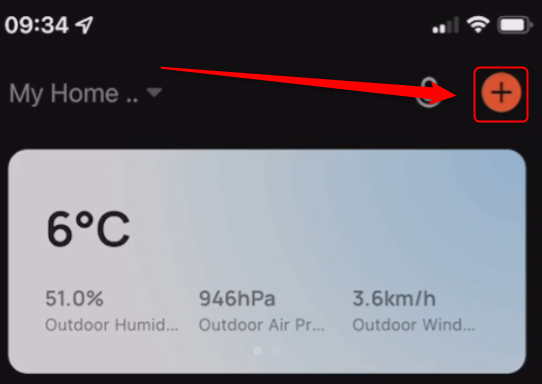
2. At the top of the home screen, click the + icon.
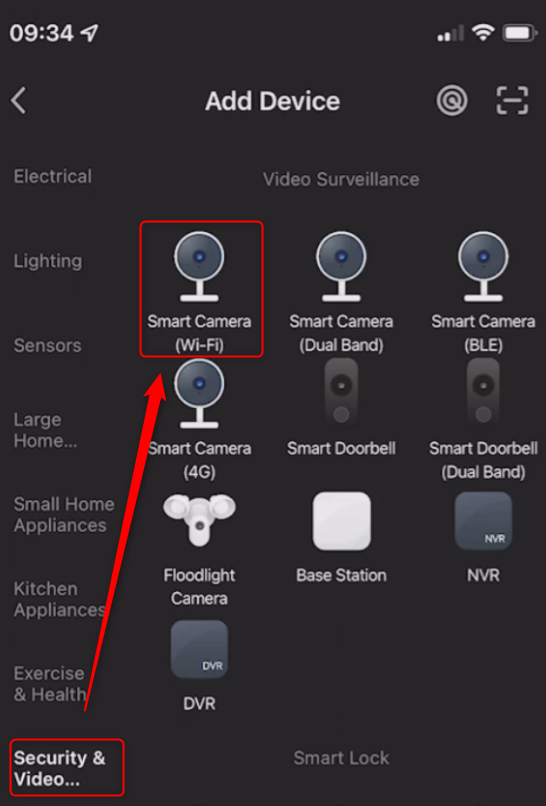
3. Select the Security & Video tab and then Smart Camera (Wi-Fi)
4. Turn on the camera, wait until the camera is ready, use the reset tool and press and hold for 10 seconds the reset button (refer to the manual for the reset button, depending on the model, it may be in a different location).
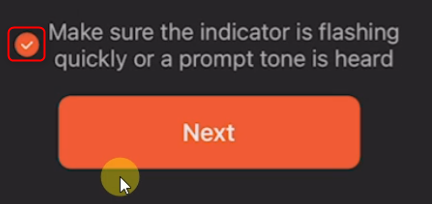
5. When the tone is heard and the LED flashes check the question and press next.
6. Enter the WiFi network password and click next
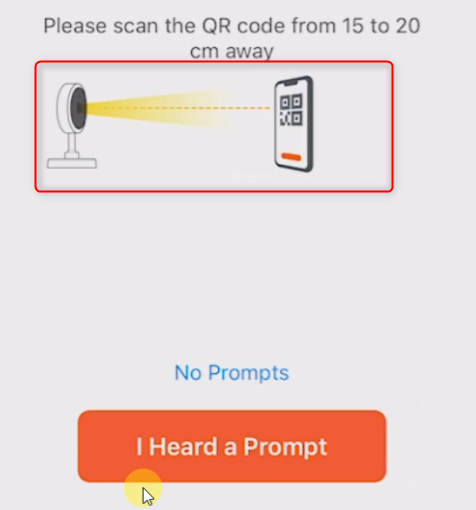
7. Scan the QR code.
In case of QR reading error, turn up the screen brightness. You can also place the phone on a flat surface and bring the camera closer to facilitate reading.
8. Wait for the linking confirmation in the application.
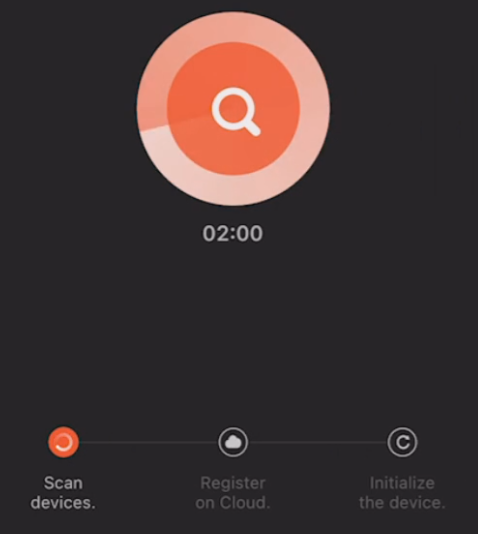
9. Once paired, proceed to configure the camera.
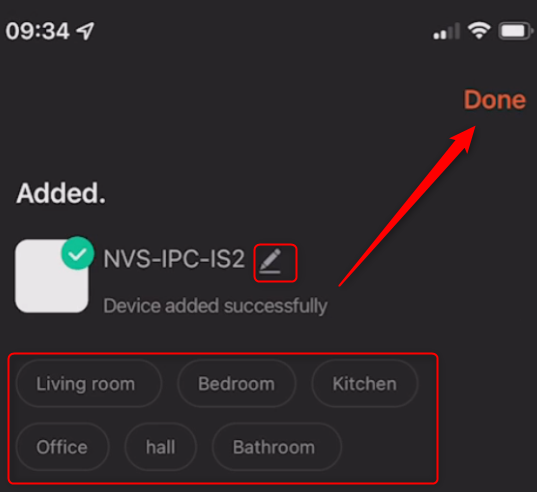
10. Click on the pencil to change the camera name, optionally you can select a room. To finish click on done.
10. The application will start playing the camera