LaView DVR Security System User Guide, Security camera systems for home or business are crucial to keeping your loved ones and property safe and secure. This premium ultra HD 4K system provides comprehensive coverage with the industry’s top-of-the-line surveillance technology. It’s the perfect security camera system to implement for the first time or to seamlessly upgrade older kits.

Naming Cameras
If you’d like to personalize your DVR with special camera names, please follow these steps:

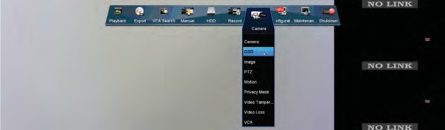
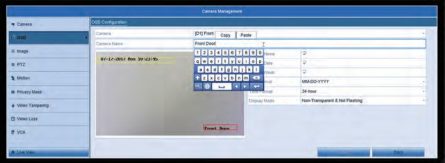
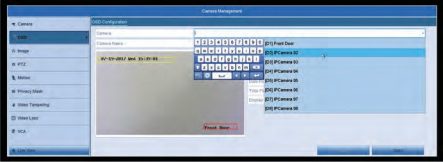
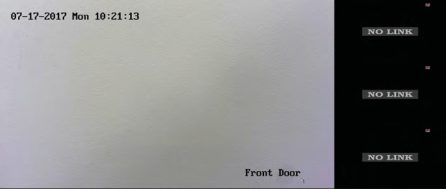
reflect your camera’s new name.
Checking Recording Schedule
If you’d like to check how your cameras are recording throughout the day, follow these steps:
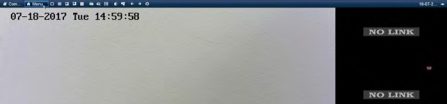
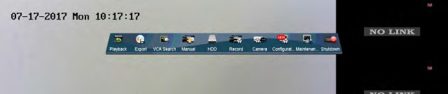
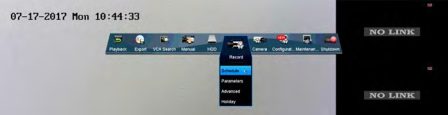
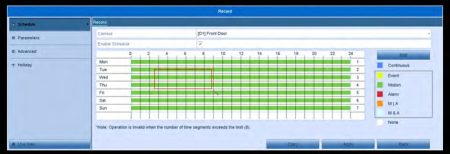
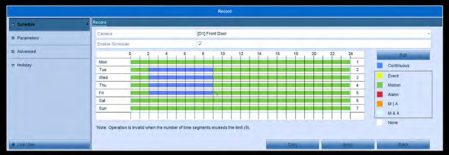
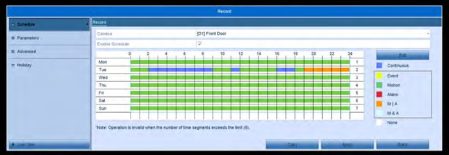
Recording Types:
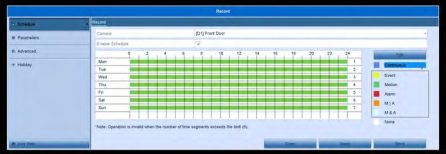
Continuous: Will record 24/7
Event: Will record when an “Event” was triggered. “Events” are special features that certain cameras have, an example would be “Line Crossing” or “Face Detection”. If you have a camera that supports any special features, you can set them up within the VCA section of the DVR. In the Record Schedule section, this option will only record when such “Events” are triggered.
Motion: Records when motion is detected within the motion detection areas that you have setup.
Alarm: Will only record if an external alarm is triggered. (An external Alarm is required with this, if your system supports it)
M | A: Will record when motion is detected or an alarm is triggered.
M & A: Will only record when both motion is detected and an alarm is triggered. None: Will not record at all.
*Notes: If you’d like to use Motion Detection as your recording type and want to check your Motion Detection Areas, please see the Motion Detection Section.
LaView DVR Security System User Guide
Read Also : DVR NVR Troubleshooting All Manufacturers
Motion Detection
To check your camera’s motion detection and the motion detection areas, please follow these steps:

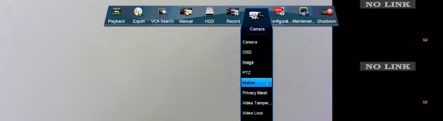
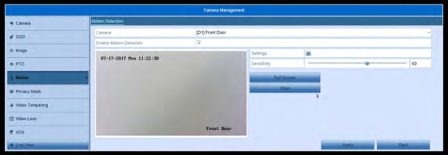
to configure and make sure the “Enable Motion Detection” box is checked.
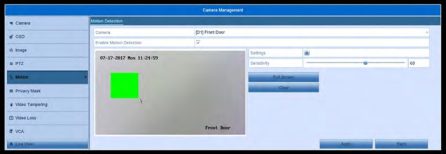
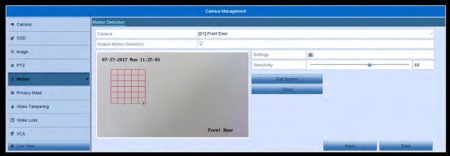
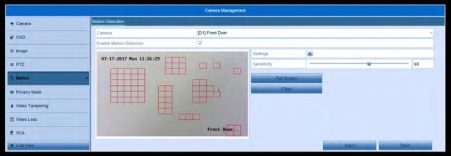

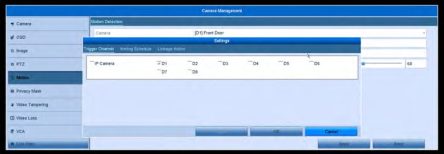
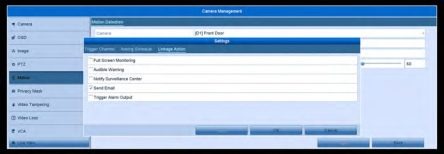
correctly. Onceyou are done here, click Apply at the bottom then Ok. Once the box closes click Apply once more.
*Notes:
Section.
going through this process.
How to Check Playback
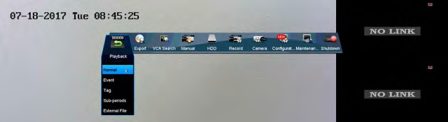
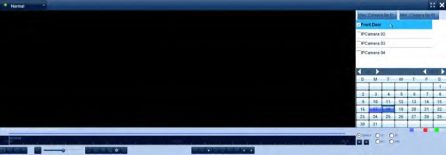
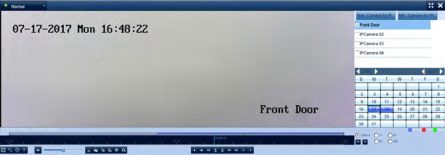
If you want to check past footage that your DVR has recorded, please follow these steps:
How to Export Files
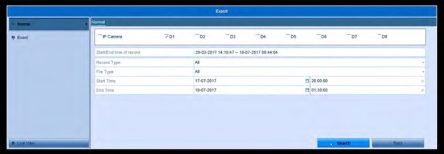
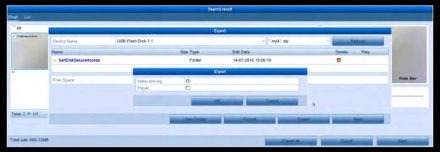
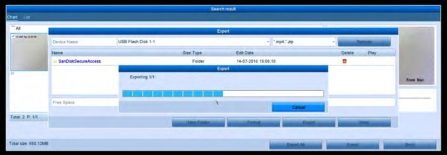
To extract videos from your DVR Hard Drive please follow these steps: (Please note that you will need a USB Flash Drive under 128GB for this process)
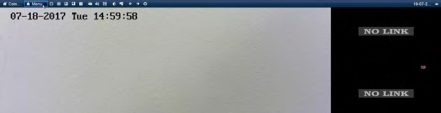
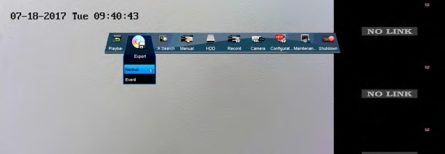
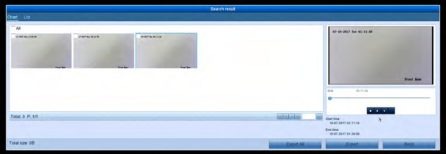
preview then click “Export” at the bottom.
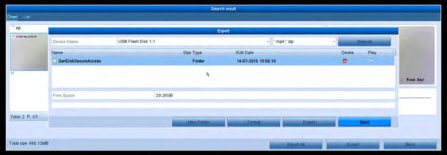

Additional Set up/Mobile Set Up
Remote Viewing – P2P
To setup remote viewing on your smart phone, follow these steps: (Before starting this setup, please be sure your DVR is connected to your router/modem by an Ethernet cable)
 *Notes:
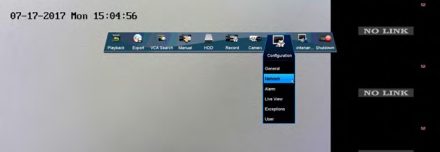
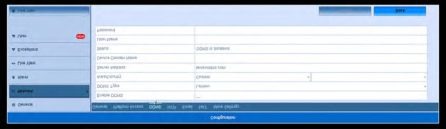
 Click on the “Configuration” icon. Then click on the “Network” option.
“DHCP” box is checked.
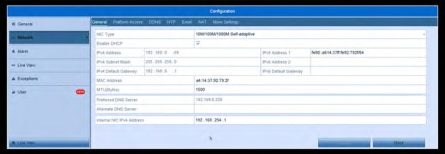
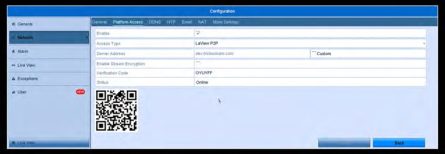
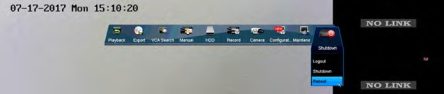
– If your status does not say Online, right click back to the Main Menu and click on the “Shut Down” Icon and click on the “Reboot” option. Once the system restarts, check the “Status” under the “Platform Access” section.
We will now go to the smart phone for the rest of the setup.
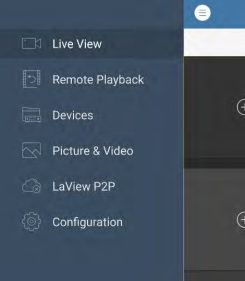
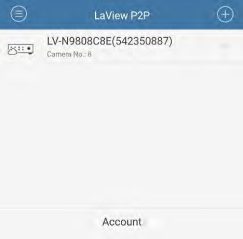
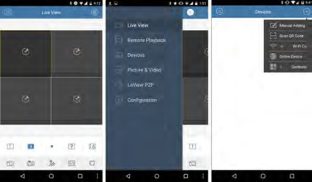
 Open the LaView NET app. Click on the Menu icon
 tap LaView P2P.
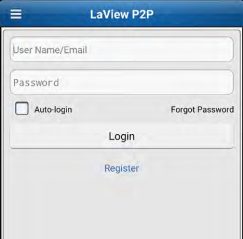
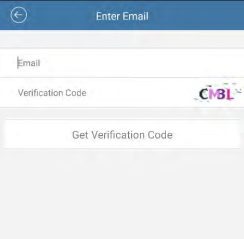
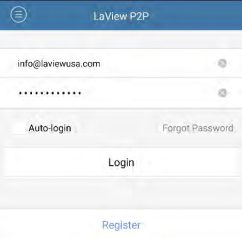
email address you provided. Create username and password after entering
your verification code.
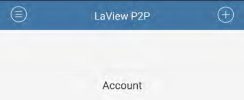
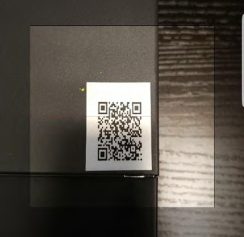
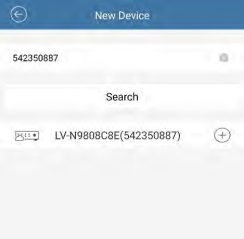
tap on the manual add icon at the top right. 
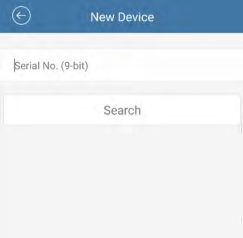
Do not include any letters. Once you have entered the serial number into phone app, click “Search” and proceed to step 13.
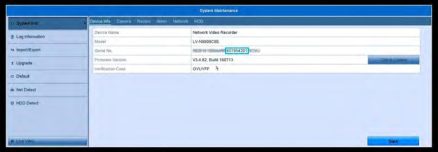
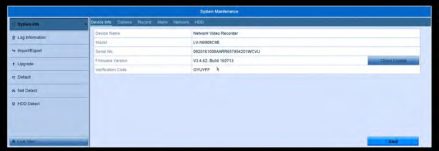
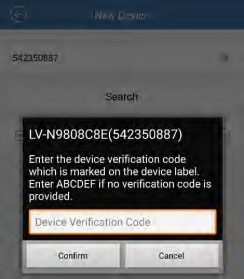
– If you cannot find it within the menu, the verification code should be on the
label of your DVR. Located either on the bottom or side.
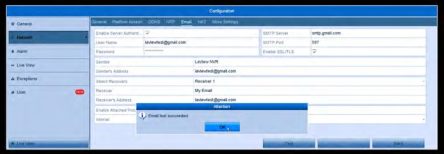
Email Notifications
To set up Email Notifications to be sent to you when motion is detected,
follow these steps:
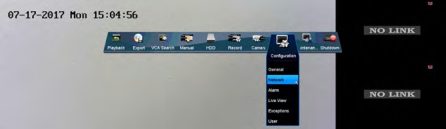
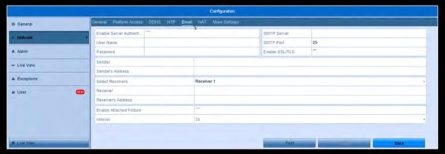
sent to.
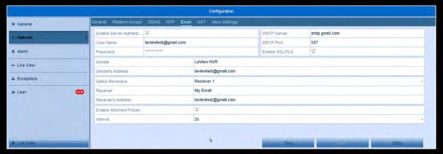
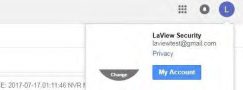
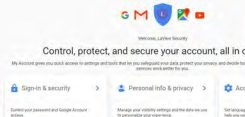
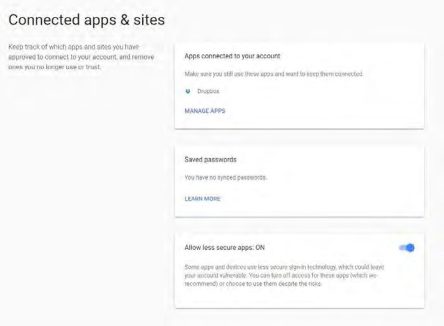
– Gmail has another security step to go through, some emails do not have this
so please check with your email provider.
*Notes:
Push Notifications
If you’d like to setup push notifications to your phone, please follow
these steps:
(Please note: Push notifications will only work while you’re using Port Forwarding. If you are only using our P2P service, they will not push to your phone. Please contact your internet provided or router manufacturer for port forwarding instructions.)
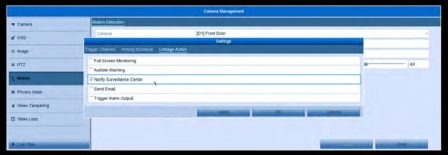
sure you are at DVR location for this step)
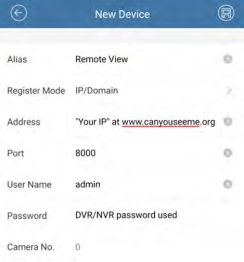
Alarm Notification” at the bottom.
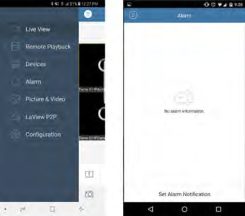
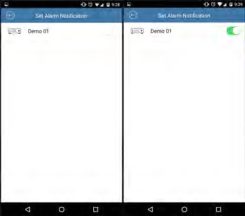
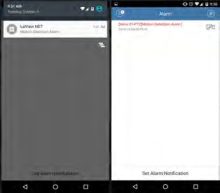 tap it to check on motion alarms. (New alarms are in red)
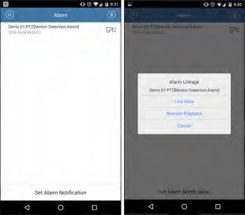
 Tap on the camera link icon to check the live view or the remote playback.
Advanced Settings
Password Reset
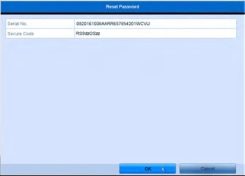
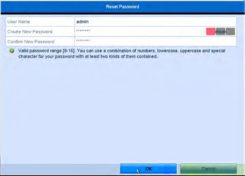
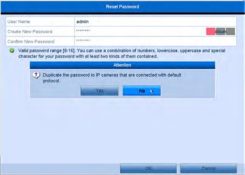
If you forget your password we can reset it, please follow these instructions to do so:
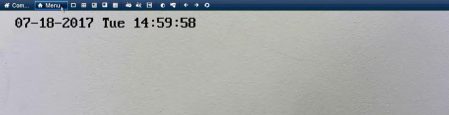
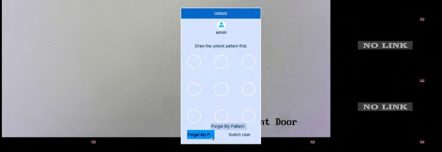
password. Double click on the bottom left hand corner of this screen.
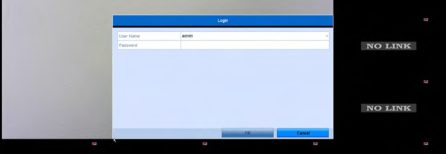
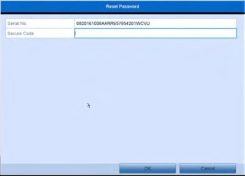
password or reset the password to 12345. If you are creating a new password, the new password must be at least 8 characters and have letters and numbers.
Recording Parameters
The Recording Parameters section is used to modify the way each channel is recording. This section is recommended for Advanced users, to help modify the systems bandwidth/priority to each channel. The default settings are optimized for performance and video quality of the system and recordings.
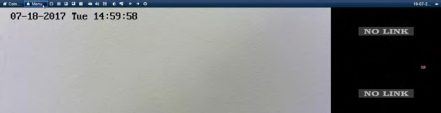
To access this Menu, use the mouse to hover over the top of the screen and click on “Menu”. Then click on the “Record” icon, then the “Parameters” option.
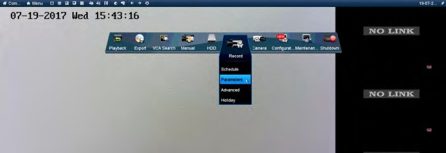
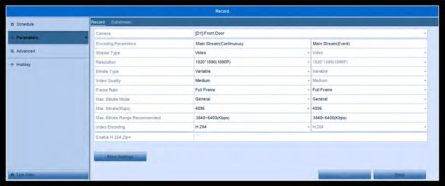
Here is a list of all the settings and what they are responsible for:
Encoding Parameters: Recording Type, Continuous or Motion Detection
Stream Type: Video or Video and Audio if you have a camera with a microphone.
Resolution: The size of the video that is being recorded
Bitrate Type: Variable Bitrate will fluctuate the amount of data the camera is using. When motion is low,the camera will only use minimal data and vice versa. When the motion is high, it will use more data to create a smoother picture. Constant will keep the data at the same range regardless of motion.
Video Quality: The system uses this as a guide for data usage when using constant or variable. The better the picture, the more data will be streamed through the motherboard of the system. High bandwidth could cause the system to drop cameras offline.
Frame Rate: The number of frames per second being recorded. The higher the frames, the smoother the video is. Full frame will use the max FPS for that camera.
Max Bitrate Mode: General has presets of recommended bitrates. Changing it
will allow you to use any Bitrate you’d like.
Max Bitrate(Kbps): The maximum number of kilobytes that the camera can use per second. The higher this number is, the more data the camera will use.
Max. Bitrate Range Recommended: The recommended range for kilobytes for performance and quality. It is usually best to be in the middle.
Video Encoding: The type of encoding used when saving the video files. Ex:
H.264, H.265, ect.
Enable H.264 Zip +: You can use this feature if your camera supports H.264+
encoding.
The “More Settings” option has some other features for each channel.
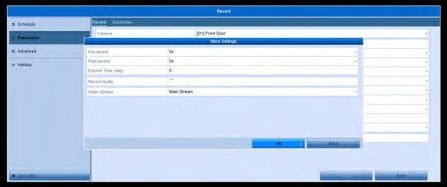
Pre-Record: If using “Motion Detection” recording, this will tell the system to record seconds before the motion was picked up as well as all the motion detection. System defaulted at 5 seconds and can go up to 30 seconds.
Post-Record: If using “Motion Detection” recording, this will tell the system to record seconds after the motion has stopped. System defaulted at 5 seconds and can go up to 30 seconds.
Expired Time (day): The expired time is the longest time for a recorded file to be kept in the HDD, if the deadline is reached, the file will be deleted. You can set the expired time to 0, and then the file will not be deleted, otherwise older file will be automatically be rewritten. The actual keeping time for the file will be determined by the capacity of the HDD.
Record Audio: You can check mark this box if your camera has a built-in
microphone, and you want to record audio from it.
Video Stream: The default stream the system will record from. Main Stream will be the highest quality stream to use for recording.
Digital Zoom
To use the digital zoom on your system, follow these steps:
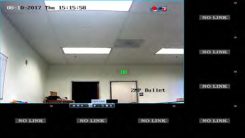
will zoom on your mouse cursor.