Activate Warning Light and Dual Warning Lights (Lorex App)
Activate deterrence light features using the Lorex App.
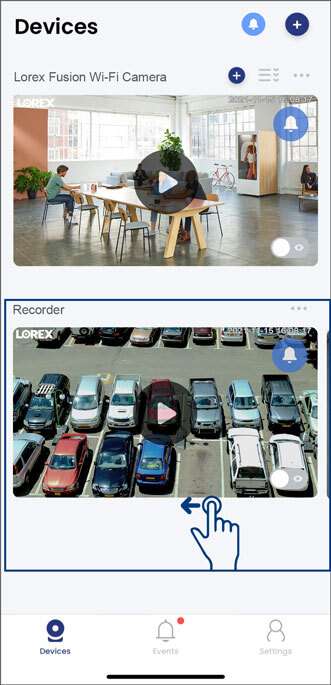
Pre-requisite: Download the Lorex App and connect your system. Refer to the article DVR / NVR – Download the Lorex App for full instructions.
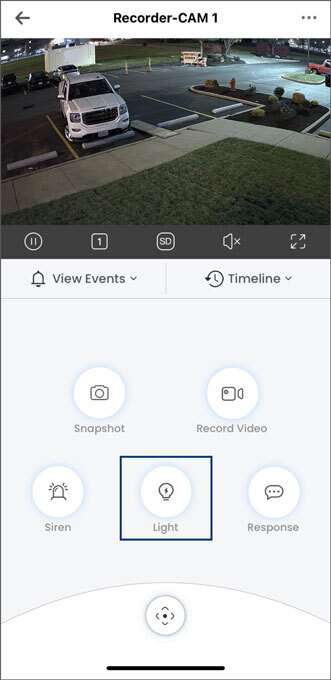
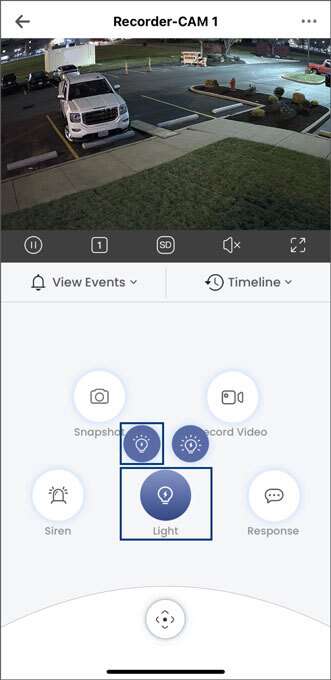
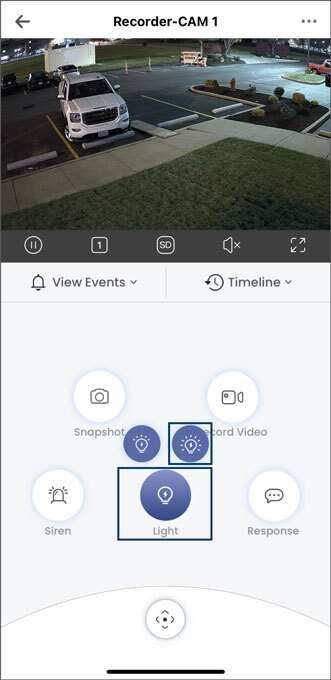
Note: Warning Light and Dual Warning Lights automatically turn off after 10 seconds.
Set the Warning Light and Dual Warning Lights Settings (New Local UI)
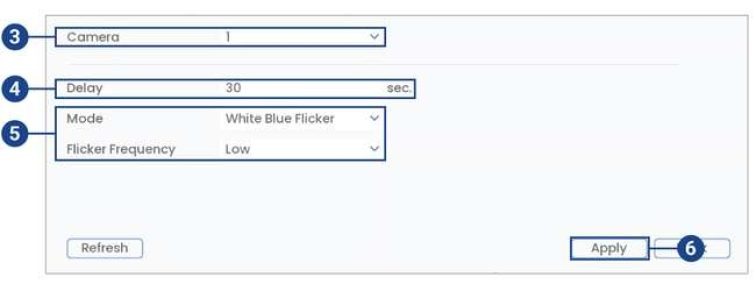
Select channels that you want to enable the Warning Light and Dual Warning Lights on and adjust preferences.
To set the warning light settings:
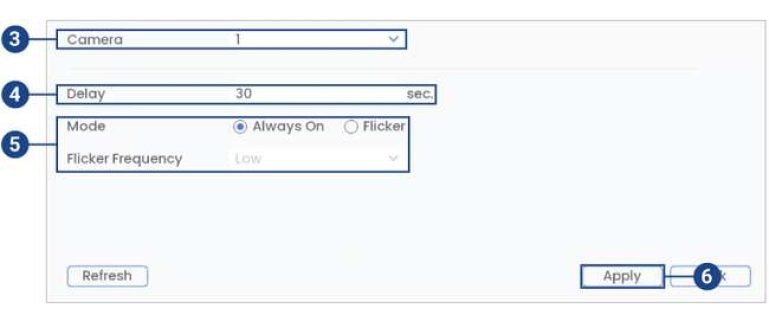
To set the dual warning lights settings:
Manually Activate Deterrence Features (New Local UI)
The recorder has multiple options for manually activating deterrence features.
To activate warning light & dual warning lights on a single camera:
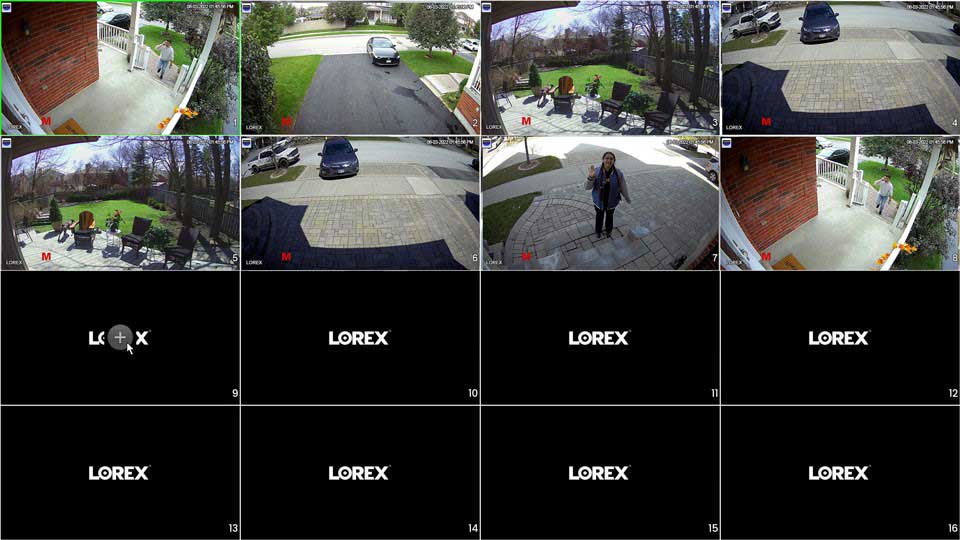
Hover the mouse pointer near the top of the camera image in Live View to reveal the Camera Toolbar. Click the left icon to activate the warning light or click on the far right icon to activate the dual warning lights.

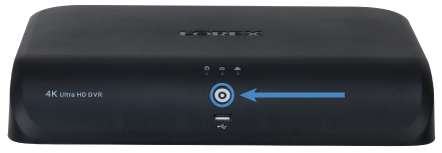
To activate warning light & siren on all connected cameras:

Link Automatic Warning Light and Dual Warning Lights with Smart Detection (New Local UI)
Set preferences for automatic warning lights and dual warning lights triggering on compatible Lorex deterrence cameras.
To set automatic deterrence light settings:
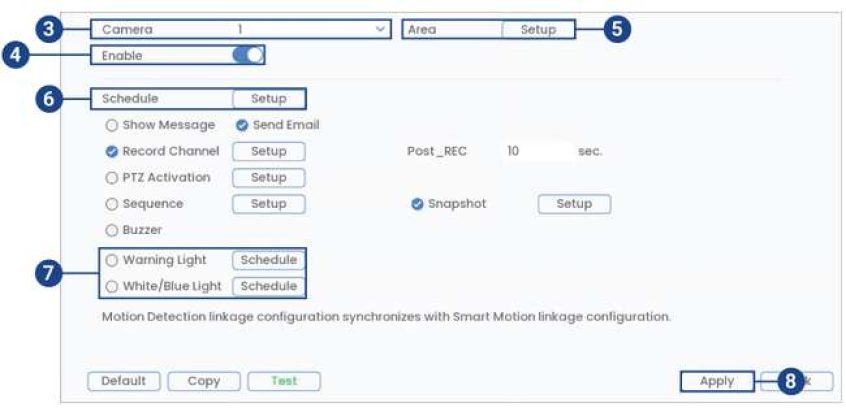
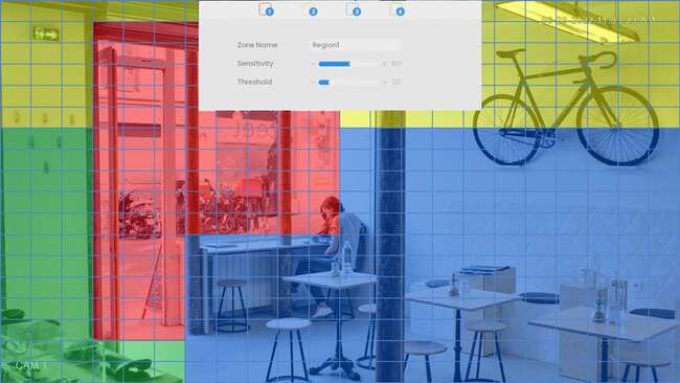
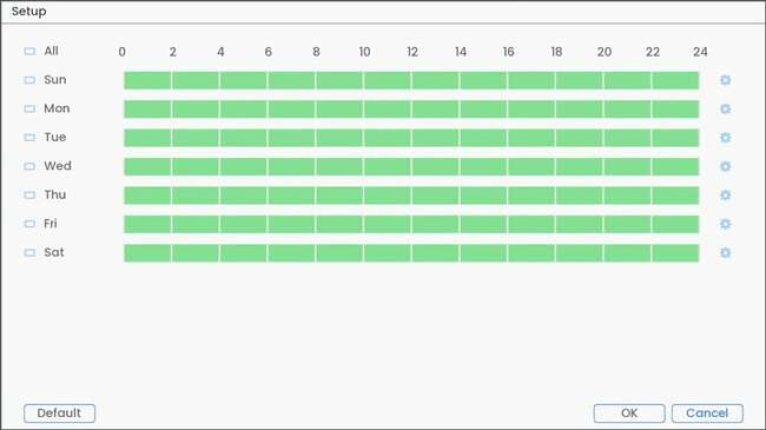
 beside 2 or more days to link schedules (
 ). This allows you to quickly change multiple schedules at once.
 . This will allow you to set exact start and end times for a schedule.
Note: The instructions above are for Motion Detection, however, they apply to any compatible smart detection feature (Smart Motion, Face Detection, and Virtual Fence).
For instructions on disabling this feature, see the article How to Turn Off Warning Light and Dual Warning Lights.